Viam Modules Made Simple
We covered modules briefly in the last video, but today I want to deep dive into why Viam modules are useful, how they’re used, and then look at creating our own.
Let’s talk about the two main elements that you would configure to build a robot.

Components are digital representations of the physical components of the device. A few simple examples of this would be motors or servos, sensors, the board that controls your machine (such as the Raspberry Pi). A more abstract example of a component would be the base, which represents the physical structure of the machine containing all of the components listed above.
Services on the other hand don’t have a physical counterpart and represent code or behaviours that can be executed using input from components, or enhancing the output of components. For example, a text to speech generator or even a large language model.
Following so far? Let’s take a look at some more terms.
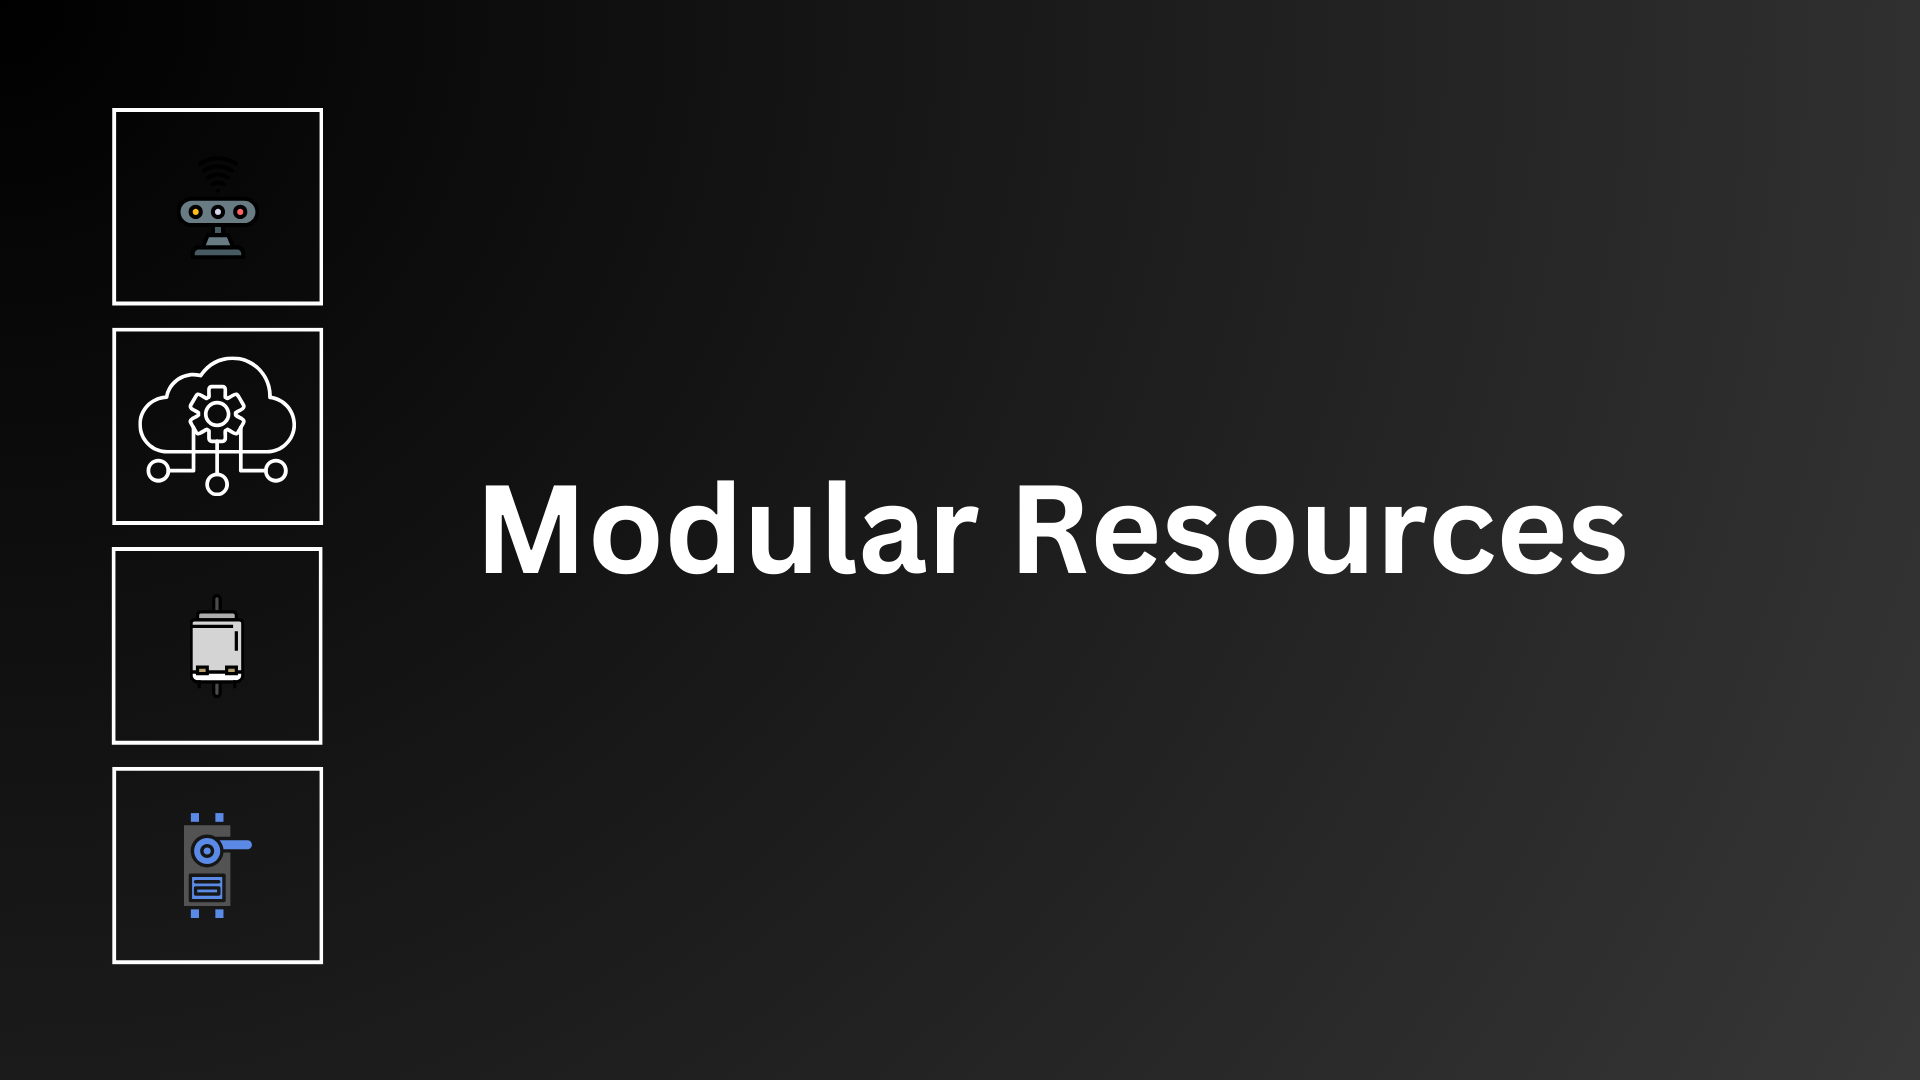
Custom components and services can be created to extend the functionality of that component or service type. Because they’re built on the Viam API they have common methods and API endpoints that we can leverage. We call these modular resources. For example, every servo component available in Viam will have the method ‘move’ and will take an angle as the argument, but the implementation, or additional functionality may be different.
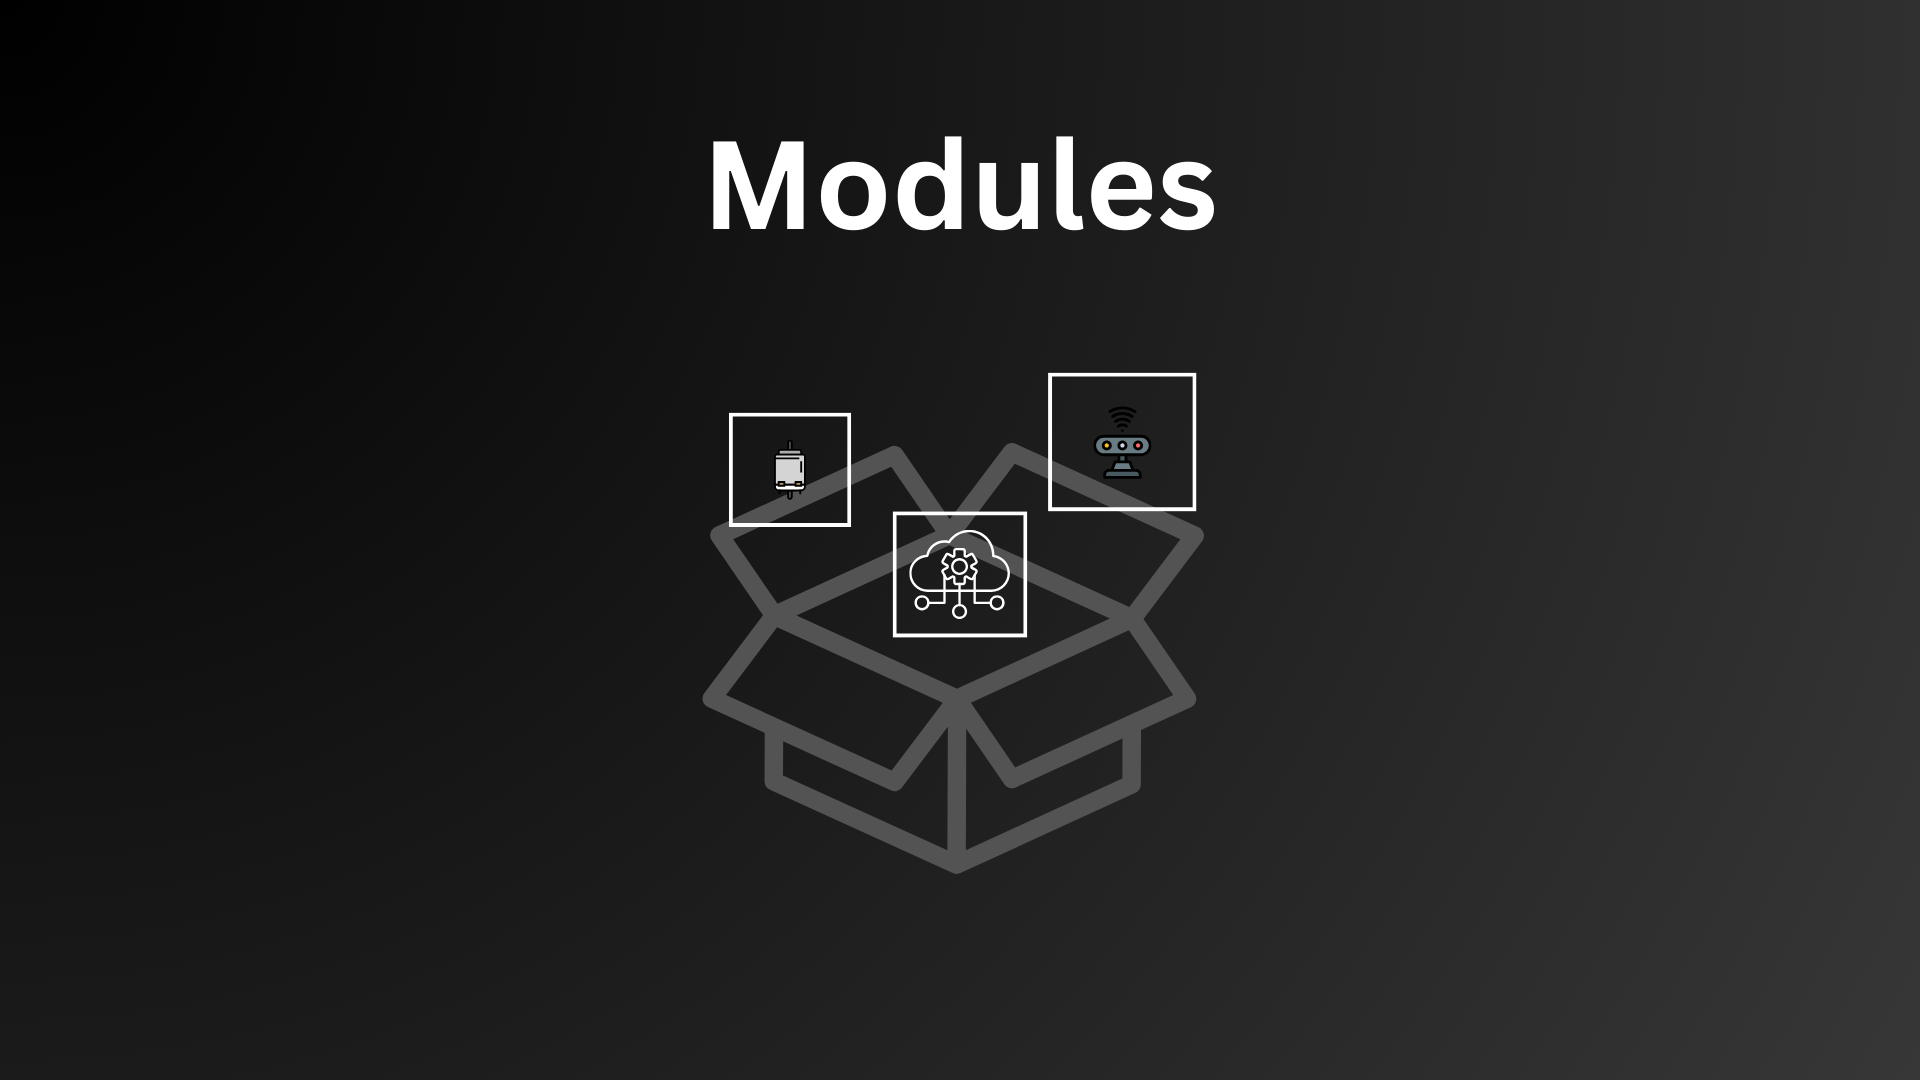
To share these resources with other users of the platform, we create modules, like a package of code, containing one or more of these resources. By creating a module, the author of that code can manage changes and distribute them easily.
It would be amazing if there could be a finite list of resources that we could use to build every robot conceivable, but in reality there are so many options that it isn’t feasible for the Viam team to do alone, but there’s good news: the Viam modular registry allows anyone working with the platform to build their own modules and share them with the rest of the community, completely free of charge. Because each component and service uses a common API framework, we can even use modules built in multiple languages and have them all work together.
Installing a module
One of the things that makes modules so powerful is that they are completely self-contained. When you opt to install a module, a script within the package defines which dependencies need to be installed and Viam will install them and track the status of the module automatically, so if the module is updated in future you can choose to install the latest version, or set Viam to automatically keep the module up to date.
This means that updates and stability issues in modules can be resolved and tracked easily. It also means that as someone who uses a module, we don’t need to worry about changes to the code and syncing code from other sources, we just set the version we want and Viam does the rest.
But how do we use the module once it’s installed?
Communication

There are a few ways we can interact with modules. Some resources have their own native UI. This means you can jump into the ‘control’ tab on app.viam.com for your robot and interact directly with the resource there. A good example would be the servo components where you can set the position directly via the web browser or mobile app.
If the native UI isn’t enough you can also create your own app, for example using flutter, and control your robot with custom buttons and actions. Alternatively, you can also write code to connect to, and consume the resource.
Some modules on the registry include examples in the README or a client.py python file which shows the basic functionality and can be executed by downloading the file and connecting to your robot.
The connection works by defining environment variables which are unique to your robot. You can set them in your .bashrc file or temporarily to test.
How to set environment variables
In addition, Viam’s secure authorization allows us to use these variables to control a robot from anywhere, as long as we have the correct API key, id, and address.
When you start using the example code you can output a list of resources to the log. This shows which resources have been installed on the robot and what their names are.
1
2
print('Resources:')
print(robot.resource_names)
You can then use this command to access the resource, and call methods on the instance of that resource to interact with any of the functionality you need to.
1
2
3
# Pubsub = API, name = name of component or service.
api = Pubsub.from_robot(robot, name="mqtt-service")
This is much more powerful than using the UI, because it means you can chain together requests from multiple modules and build some complex and really interesting behaviours.
Module to Module Interaction
You can also do something similar between modules by referencing a module in another module’s configuration as a dependency. This then allows you to consume module A in module B.
1
2
3
4
# Example showing MQTT module dependency being consumed in another module
mqtt = config.attributes.fields["mqtt"].string_value
actual_mqtt = dependencies[Pubsub.get_resource_name(mqtt)]
self.mqtt = cast(Pubsub, actual_mqtt)
See here for full example.
MQTT Intro
One of the challenges to the code examples above is that you need to explicitly reference the resource that you’re looking to consume. For a lot of uses this is fine, but sometimes you might not want that hard dependency between modules. An example of this is in my project where we rely heavily on the publisher subscriber design pattern to enable modular and optional behaviours to be carried out as part of the operation of the robot.
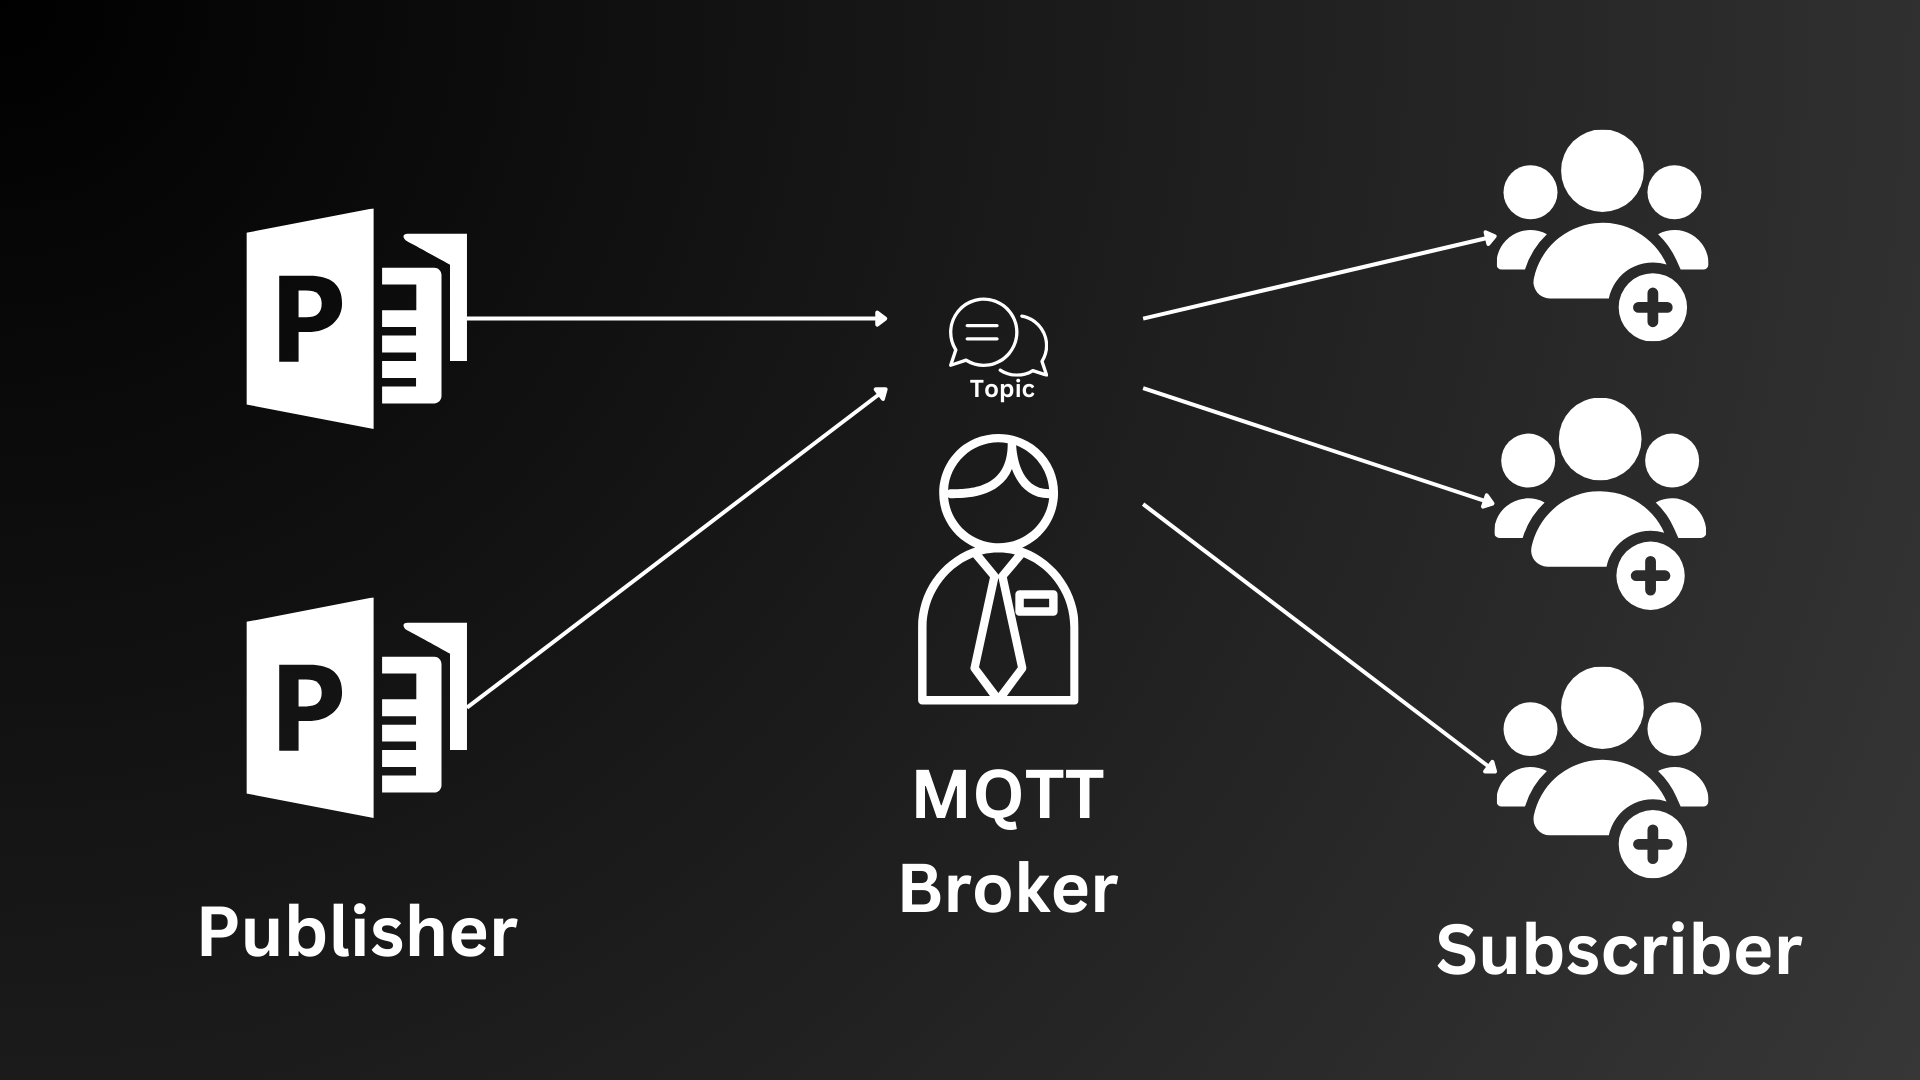
 Publisher Subcriber (PubSub)
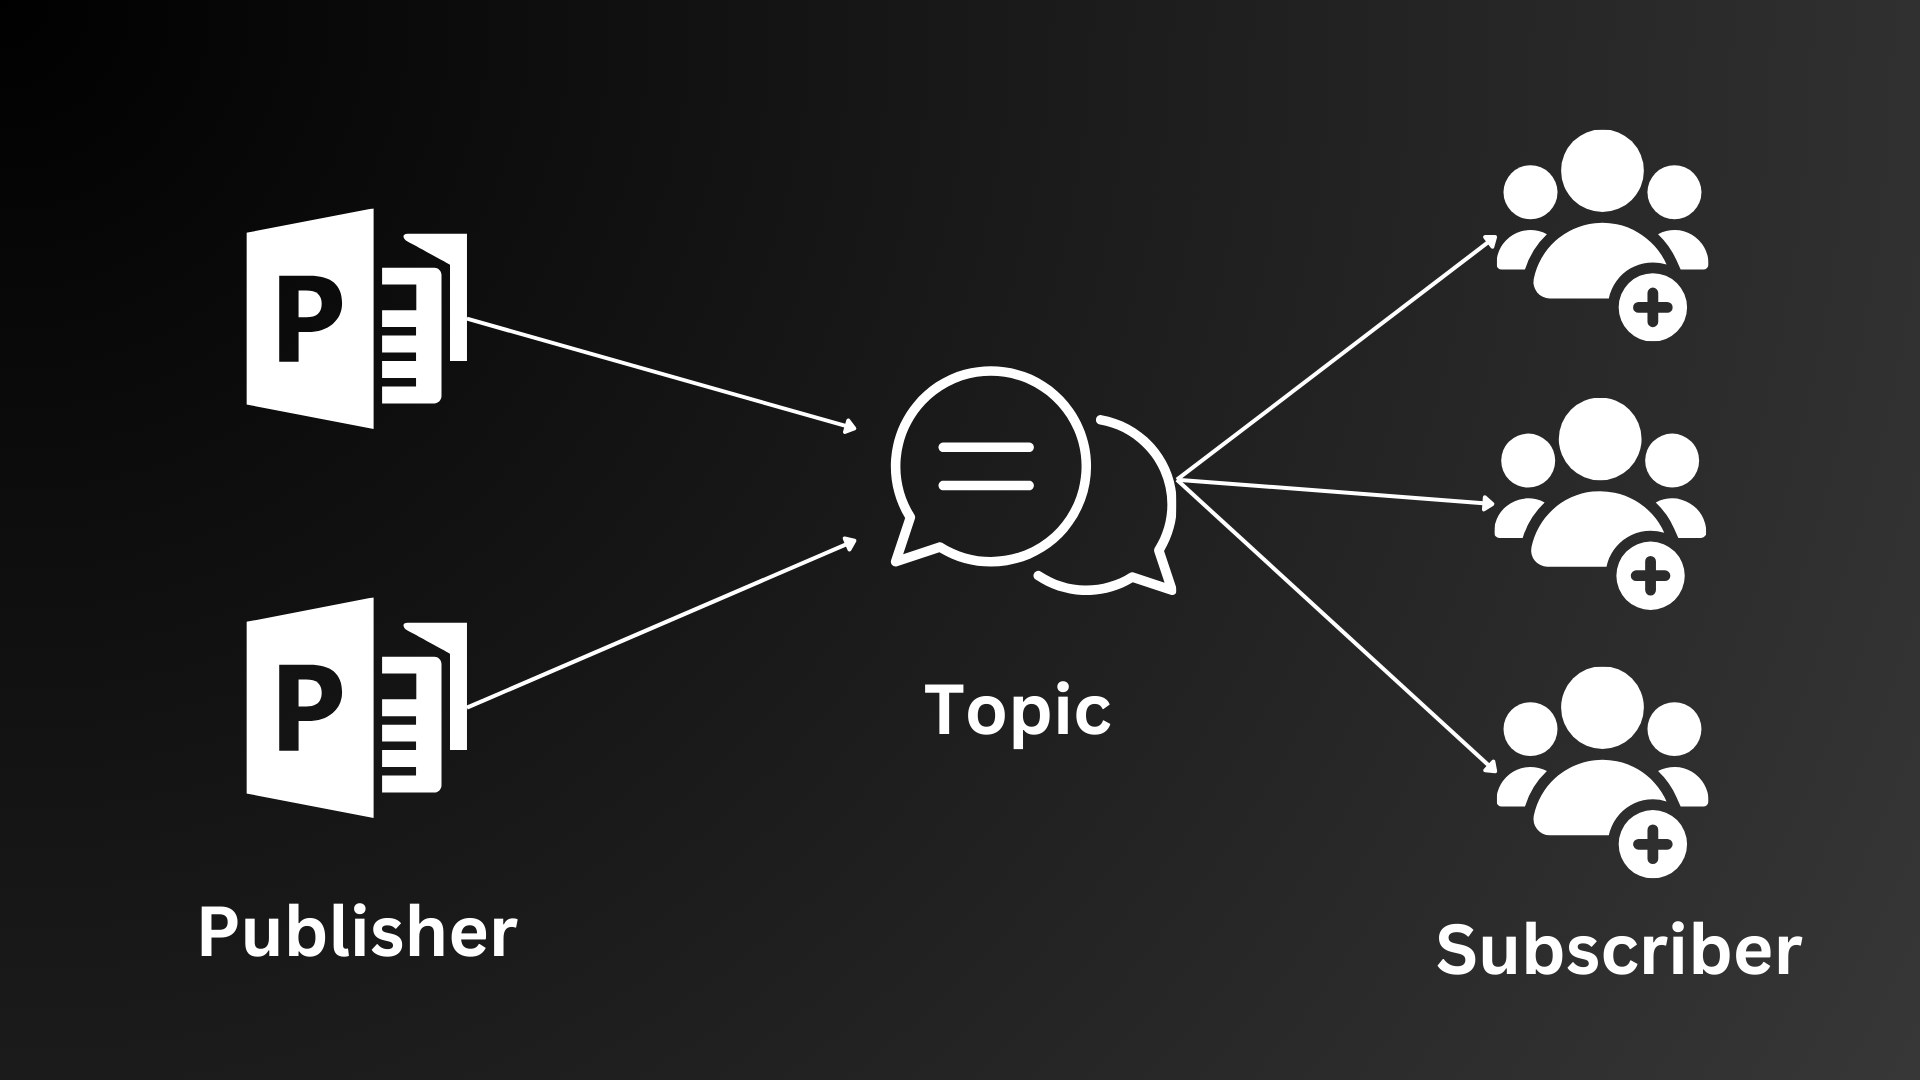
With pubsub, many modules can subscribe to a published event, and choose whether to react to it and what to do. The publisher doesn’t care whether any subscribers are listening, it just publishes and moves on with its day.
It’s also useful if there needs to be more than one response from a method call, or multiple responses that are delayed by fixed time periods, as is the case for the animation scripts in my project.
But previously there was an issue - PyPubsub, which I used in my project to this point, can only send messages within its own running python process, but because Viam modules take advantage of being able to run multiple python processes at once, each module can’t ‘see’ any of the others using that architecture.
To manage these use cases, I collaborated with the Viam team to create the new MQTT broker module.
 MQTT
MQTT
MQTT is a lightweight, machine to machine network protocol for message queuing. It is designed for connections with remote locations that have devices with resource constraints or limited network bandwidth, such as in the Internet of Things. It utilises a broker that queues and distributes published messages to any subscribers quickly and with a robust architecture that can not only bridge the gap between python processes, but also between devices.
The Viam MQTT broker module can be installed on the robot and configured, either to connect to a local or remote MQTT instance, or even configured to create an MQTT instance specifically for its own use.
Then, every module that would like to publish to a topic can do so, and any modules that need to subscribe just need to include that same MQTT service as a dependency and subscribe to the same topic.
This means that module to module communication is possible without any need to define a long list of dependencies that change depending on the evolving functionality of the robot. Just give the module access to the mqtt service, and watch it go!
Now, because of the wide range of options for inter-module communication available, we get to choose which is best for our use case:
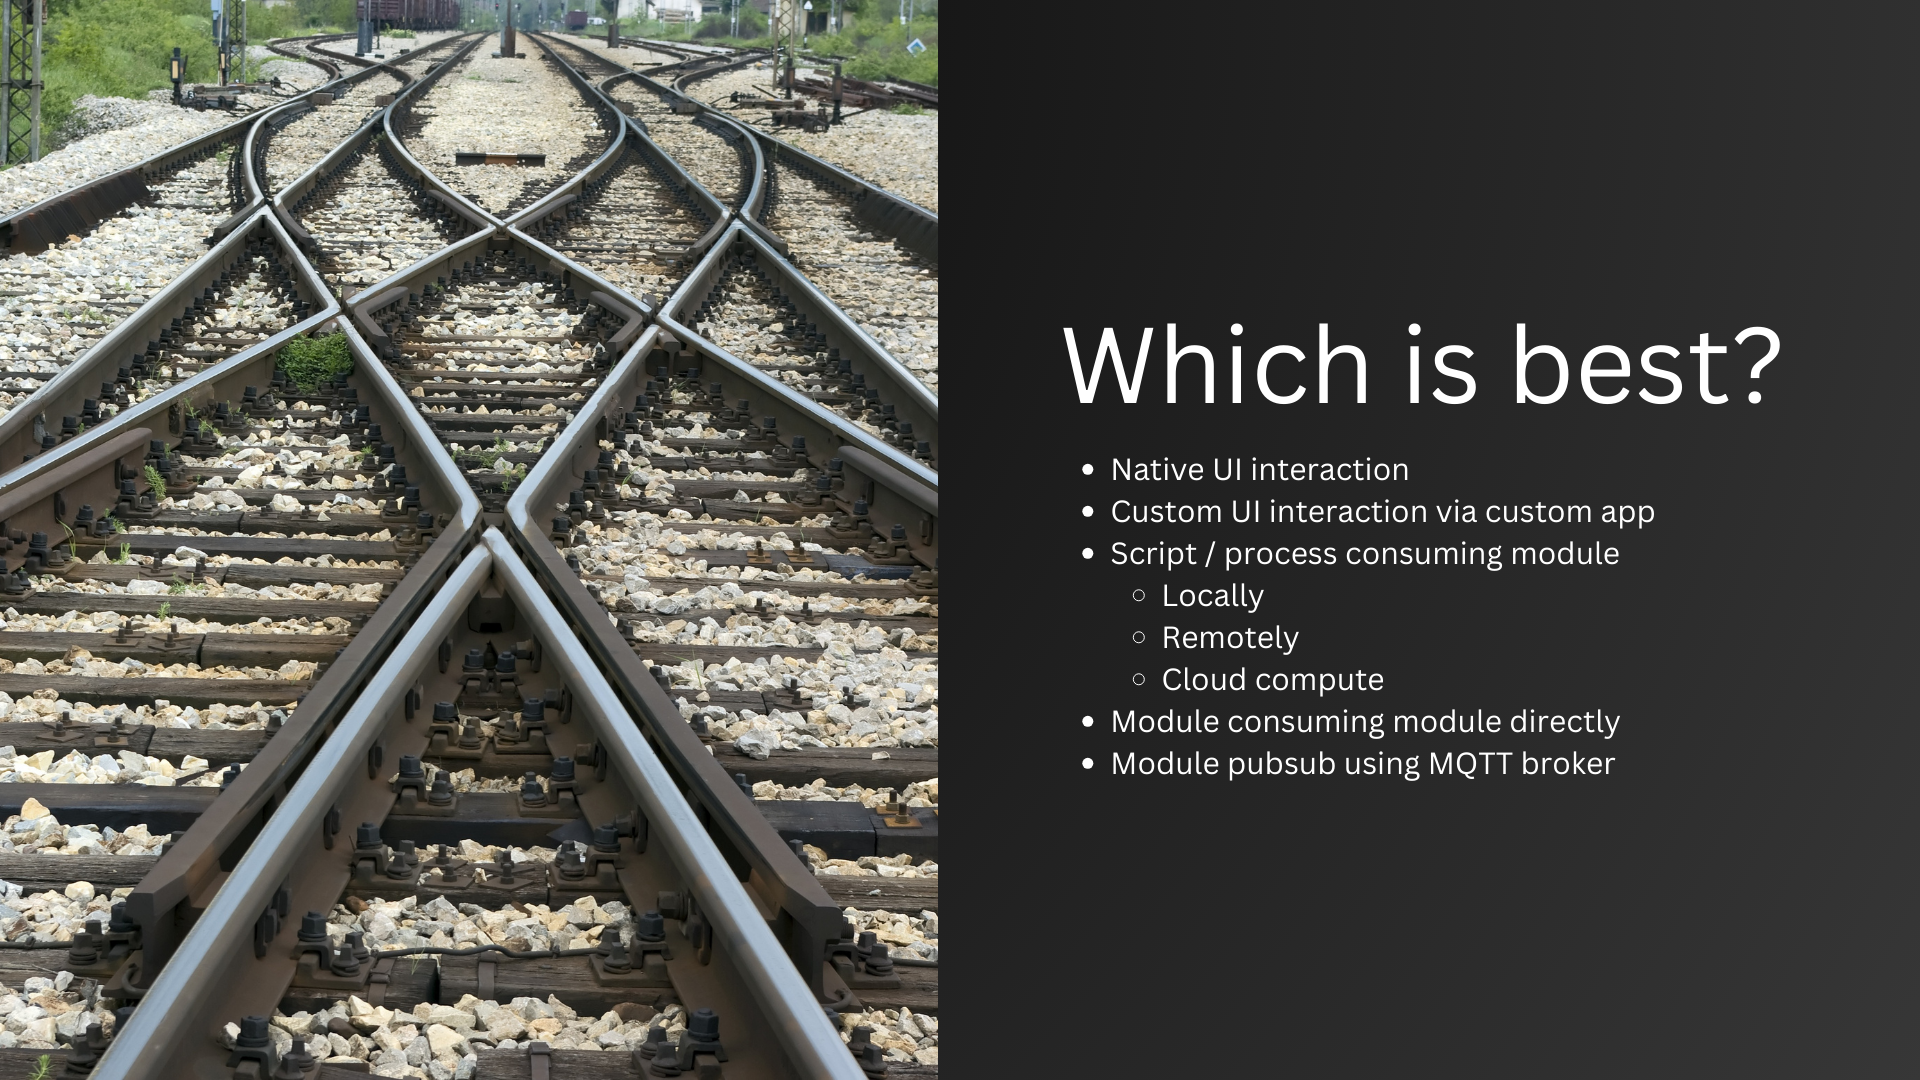
I’d generally say that native UI interaction is best for quick tests and adjustments and building a custom app is best for when you need bespoke controls that aren’t available out of the box.
When using scripts you have three options. Locally executed, best for low latency applications, for example self balancing robots. Remotely executed, best when utilising a more powerful machine or for quick iteration during development. And cloud compute, best for leveraging the higher specs for specialist tasks such as machine learning.
You can also have a module consume another module directly, when the dependencies are known, fixed or need synchronous communication, or via the MQTT broker when that isn’t the case or if you need to use topics and events for another use case.
My modules
To build on the functionality already in place, I created a few modules that work for my project and can be installed on others easily. The longer term goal is to move all of my python modules into Viam modular resources, and have a single script referencing those resources to manage the behaviour.
For the purposes of this video I have 3 that I want to cover. Animation, Servo and Serial.
In the current project, the animation module can take a name of an animation as input, it then loads the corresponding JSON file which contains a list of instructions. These can be servo positions, LED commands, audio output, even other animation scripts.
In the case of servos, the animation module publishes to the servo/send topic requesting that a specific servo moves. Each servo is a separate component, defined in the config tab, and each has their own topic to subscribe to as the topic includes the identifier of that servo. This way each can be published to individually.
The servo module then takes the request, applies some safety considerations and then requests the servo to move. For safety, I wanted to ensure that the servos would never be asked to move past their physical range as this could damage the robot, so I designed my servo module to work with a defined range and then pass the module a percentage of that range as an argument, rather than an angle.
Most of the servos are connected to an arduino microcontroller that manages the actual movement and position. This is connected via serial to the Raspberry Pi. Because of this the servo module publishes an event to a serial module, which manages that connection to the arduino and sends the instructions.
The modular nature of the project means that, if I wanted to remove the head and disconnect the servos, or even attach it to a different base (maybe one with wheels), the software would allow me to do that, and the animations would adjust accordingly by ignoring any instructions for the servos that are not currently connected.
We have an example script that will accept the name of an animation as input and publish it to the animation topic, so all I need to do is run this, and pass in one of the animation JSON file names, such as look_up.
1
2
3
4
5
6
7
8
9
10
11
12
13
14
15
16
17
18
19
20
21
22
23
24
25
26
27
28
29
30
31
32
33
34
import asyncio

from viam.robot.client import RobotClient
from viam.rpc.dial import Credentials, DialOptions
from viam.logging import getLogger
import sys

# from speech_service_api import SpeechService
# from chat_service_api import Chat
from pubsub_python import Pubsub

LOGGER = getLogger(__name__)

async def connect():
    <USE YOUR CREDENTIALS HERE>

async def main(txt: str):
    robot = await connect()

    # print('Resources:')
    # print(robot.resource_names)

    api = Pubsub.from_robot(robot, name="mqtt-service")

    json = {
        "action": txt
    }
    await api.publish("animation/send", str(json), 2)

    # Don't forget to close the machine when you're done!
    await robot.close()

if __name__ == '__main__':
    asyncio.run(main(sys.argv[1]))
Once we run the script the animation module receives the topic, passes the actions to any relevant servos, then on to the serial service, and finally on to the arduino to move the servos.
In future, I could also add predefined commands for the arduino, so I could send the command ‘stand’ over serial and have the arduino use the already existing inverse kinematics and inertial measurement software to make the robot stand without the need for individual servo positions coming from the raspberry pi.
Take a look at an example config.json here:
Example JSON config for Viam robot
Creating your own modules
Viam makes it easy to create a module yourself with the module generator. This module creates a template based on your input to give you a great starting point to begin building.
Once you have your module created, you can jump in and start adding the specific functionality you want to include.
To test your module, add it locally then create the component or service and start to test.
If you need to install it on a remote device because you’re working with a specific software or hardware architecture, you can use a tool like Mutagen to sync your local code with your remote device.
Publishing modules
So you’ve created a module and it’s ready to share. Now you can jump into the terminal and publish it to the registry.
That will make your module available on the registry for others to use. If you make further changes, you can easily publish a new version once you’ve tested it locally and you’re ready to publish again. Processes
Processes
So far we’ve created modules, and then connected to those modules with scripts in order to run them from the terminal, but what if you want to have a script run when the viam server starts?
That’s where processes come in.
Processes allow you to specify a script and have it execute and restart with the viam server. Think of this as your main.py file in python. You then connect to the components, services, modules and any other resources and define the behaviour you’d like your robot to exhibit. This is great for defining code to run as soon as you start the robot.
Final Thoughts
We’ve been through a lot in this video, but don’t worry - the resources are there to help you get started and work your way through this process.
You can use the AI assistant to ask questions about anything Viam related, read the guides and example tutorials, and join the Viam discord community and post in the ‘ask us forum’ to discuss your project and questions.
Viam Documentation + AI Assistant
I’m looking forward to migrating my existing work into Viam and I’m really excited to see what kind of functionality the community publishes to the registry in future.
Sign up for Viam’s App: https://bit.ly/viam-app-dn
Thanks for watching!