RoboUNO+ | Supercharge your Arduino prototype | Review
Ahead of their new crowdfunding campaign, ROBO Educational and Research Robotics I got my hands on a shiny new RoboUNO+. Let’s take a look!
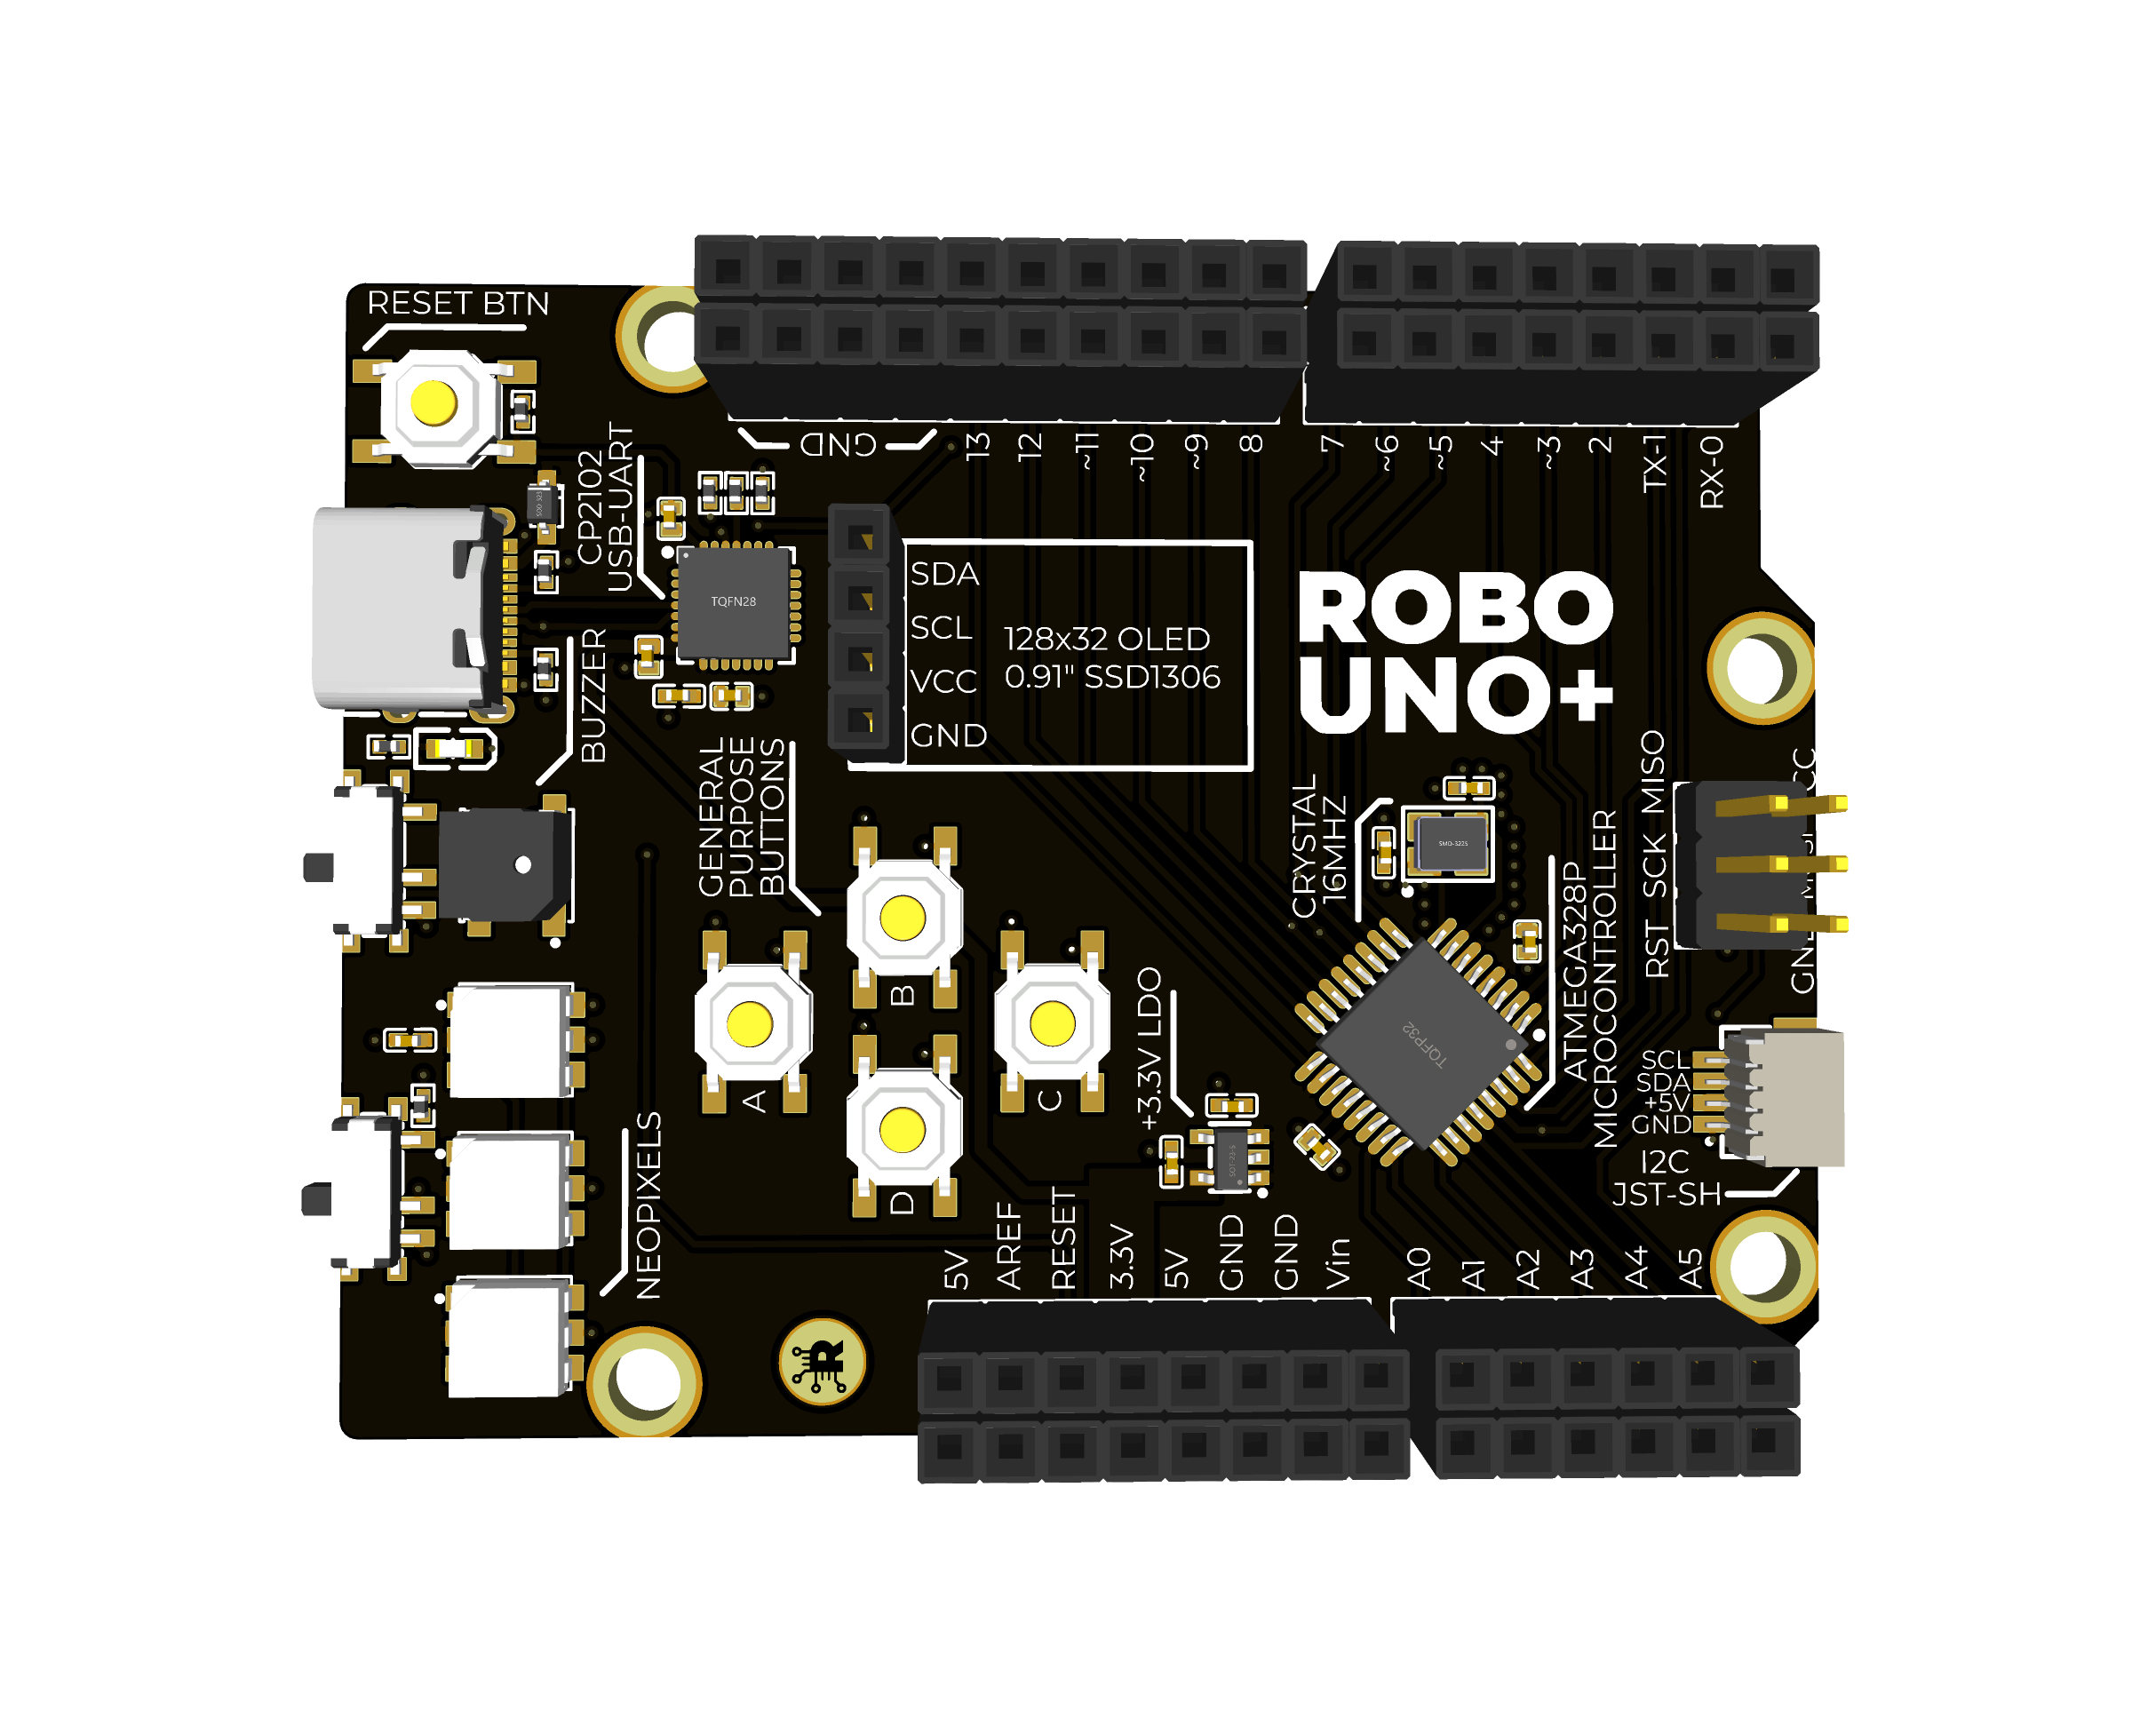
The RoboUNO+ is a new Arduino compatible board with additional built-in components to make prototyping easier. It’s based on the Arduino Uno, so it’s compatible with all the same shields and libraries.
I’m a fan of the Arduino platform, and have used it in many projects. I’ve also used many different Arduino compatible boards (my first arduino was a Sainsmart Uno that is still going strong today), so I was interested to see what the RoboUNO+ had to offer.
Introduction
Features
The RoboUNO+ brings a lot of extra functionality to the Arduino Uno, including:
- NeoPixel RGB LEDs (x3)
- Push buttons (x4)
- Buzzer
- Dedicated headers for a .91” (128x32) OLED display using I2C
- A JST-SH connector for I2C communication
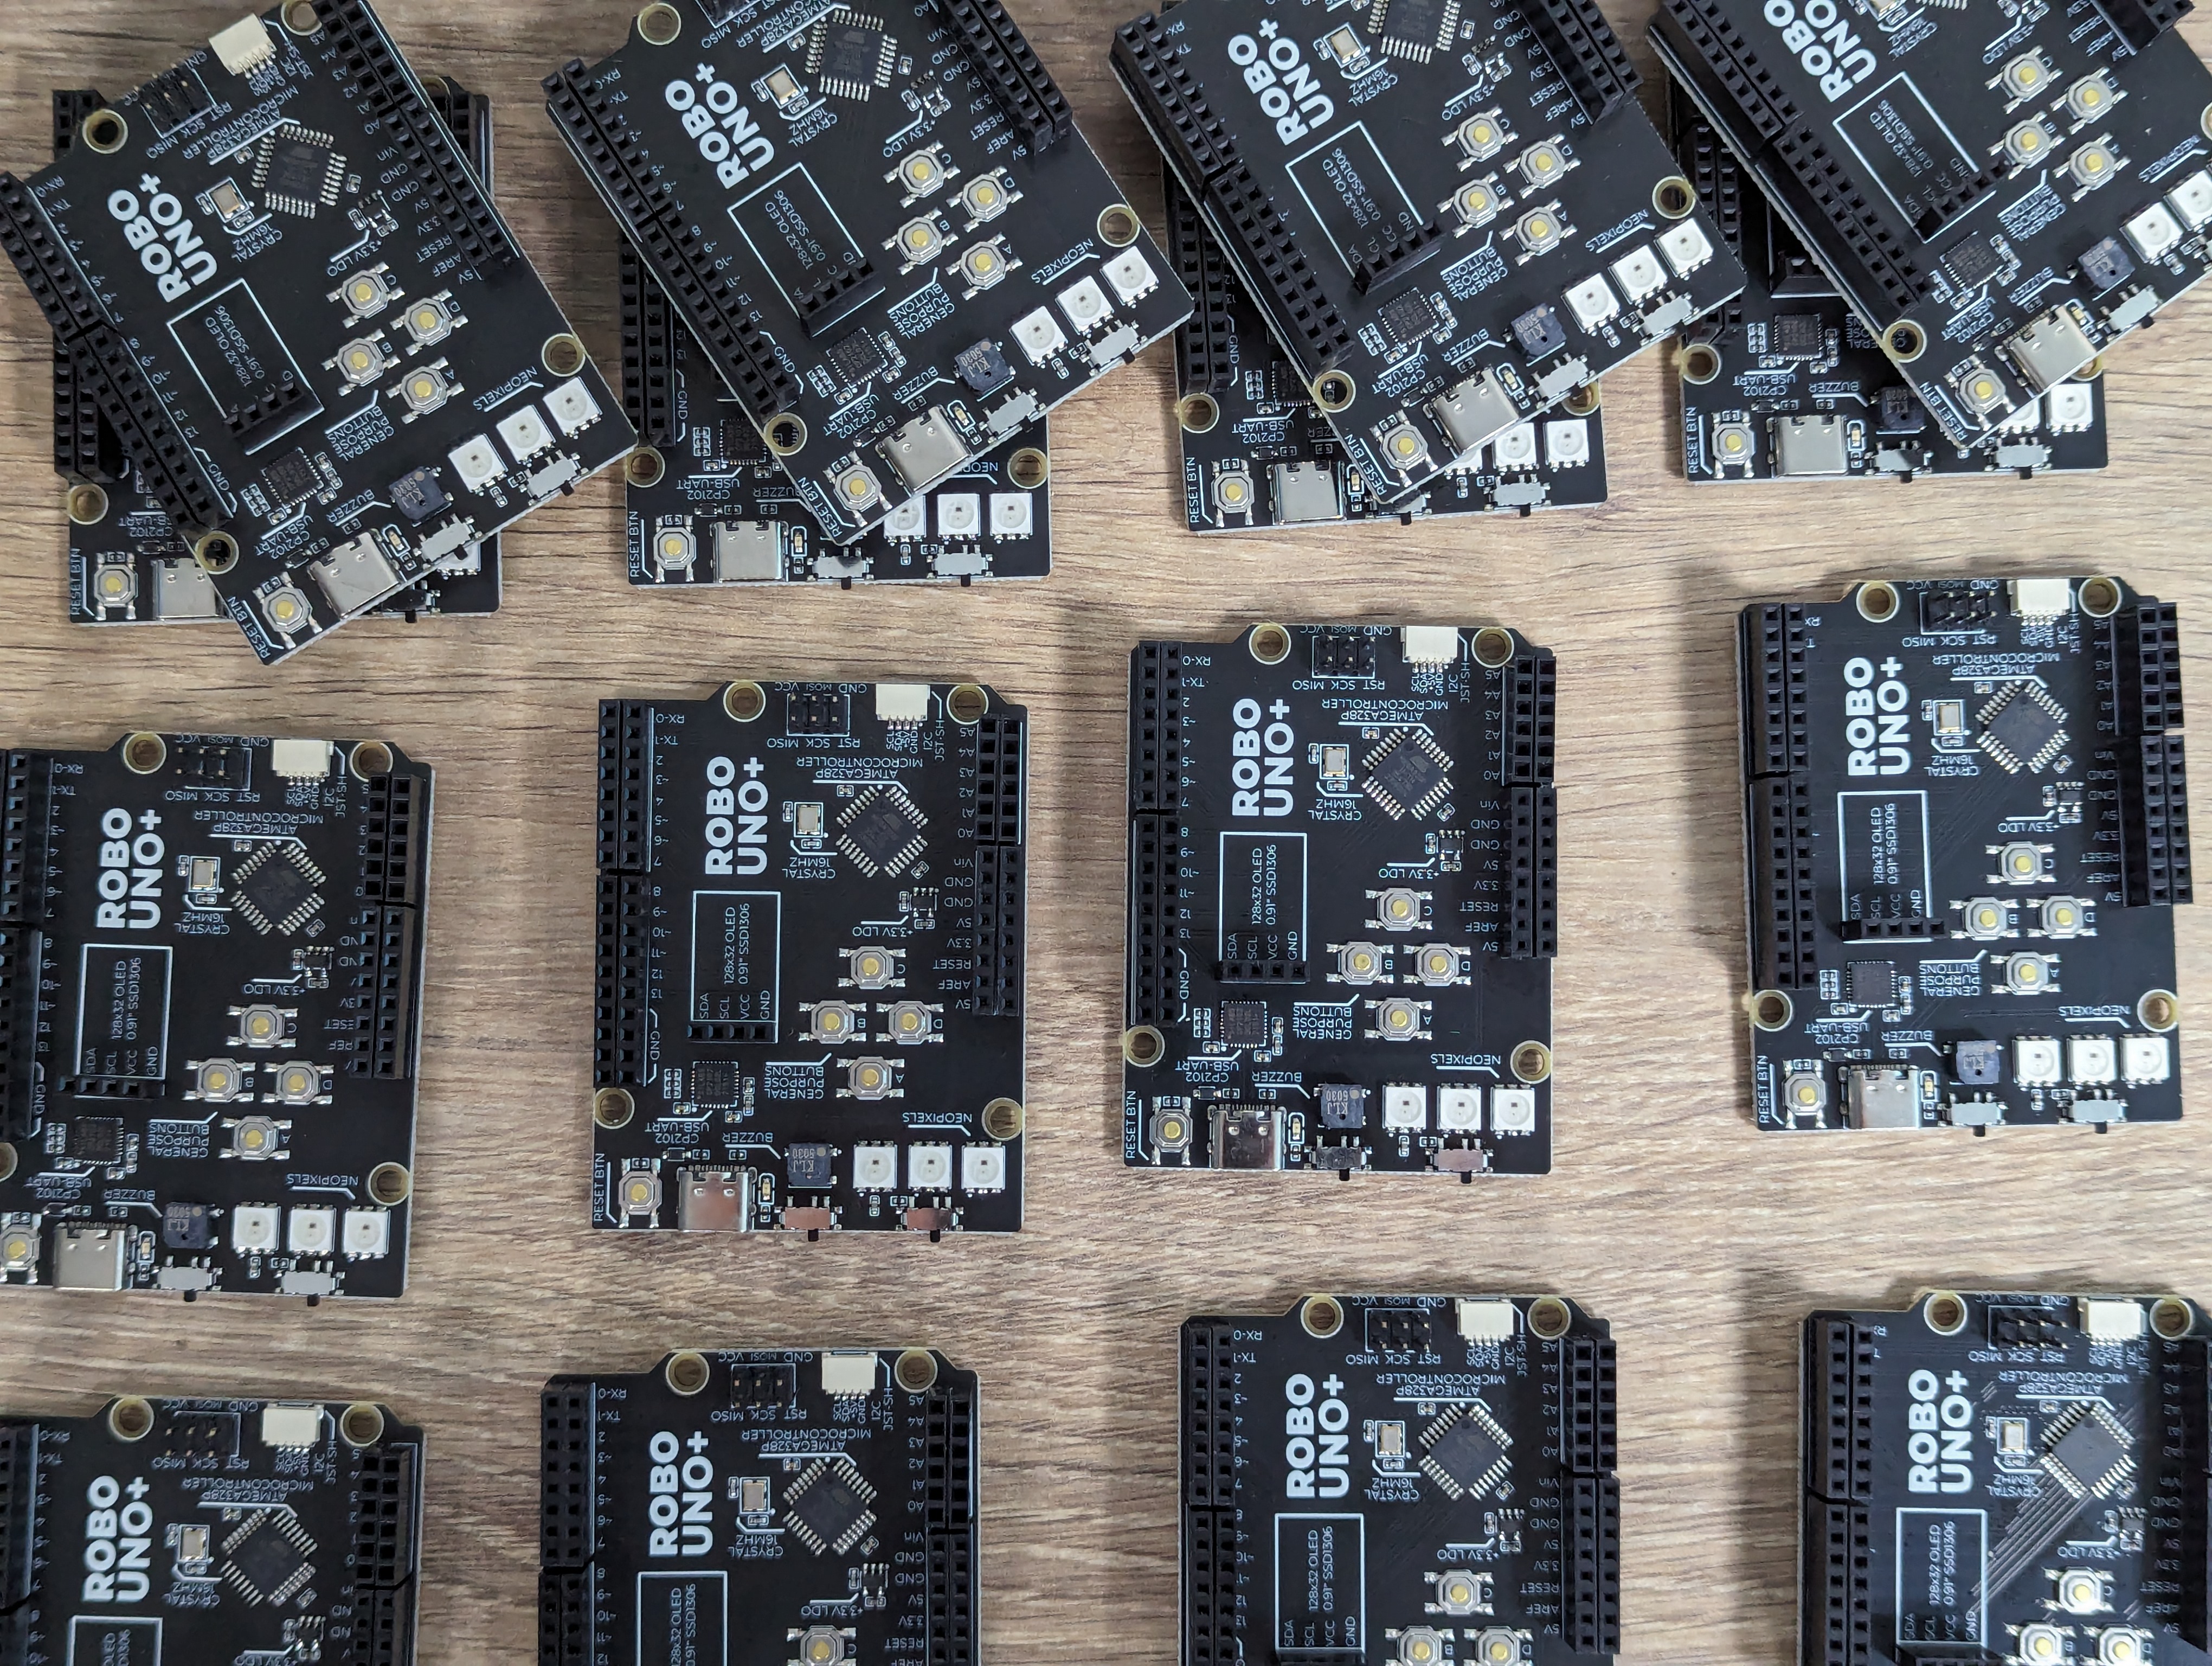
 All this on a single board
Certain features have also been added to make the board easier to work with, including silkscreen labels for the pins and (most) components, and a reference on the back of the board to which pins are in use by the built-in components mentioned above - very useful for those of us who don’t want to have to keep referring to the datasheet.
The JST-SH connector is a great addition as it allows easy connection of a number of I2C devices including SparkFun’s QWIIC and Adafruit STEMMA boards as well as ROBO add-on boards.
There are also two switches on the board, one to disable the buzzer and one to disable the NeoPixel LEDs. This frees up the pins for other uses. A switch isn’t included to disable the buttons as they can just be ignored if not in use and will not interfere with the pins they’re connected to.
There are 20 projects ready to go on the GitHub repo, to make getting started easy. It even plays Doom!
Hands-on
First impressions are good. I was able to upload the Blink sketch and get the on-board LEDs flashing easily. The upload process is no different to the Arduino UNO, and the same selections can be made in the Arduino IDE.
Next I tried out the built-in components using the example sketches provided. The OLED display worked first time, and the buttons and buzzer were easy to test using the example sketches.
The sketches are easy to use and take no additional configuration to get working.
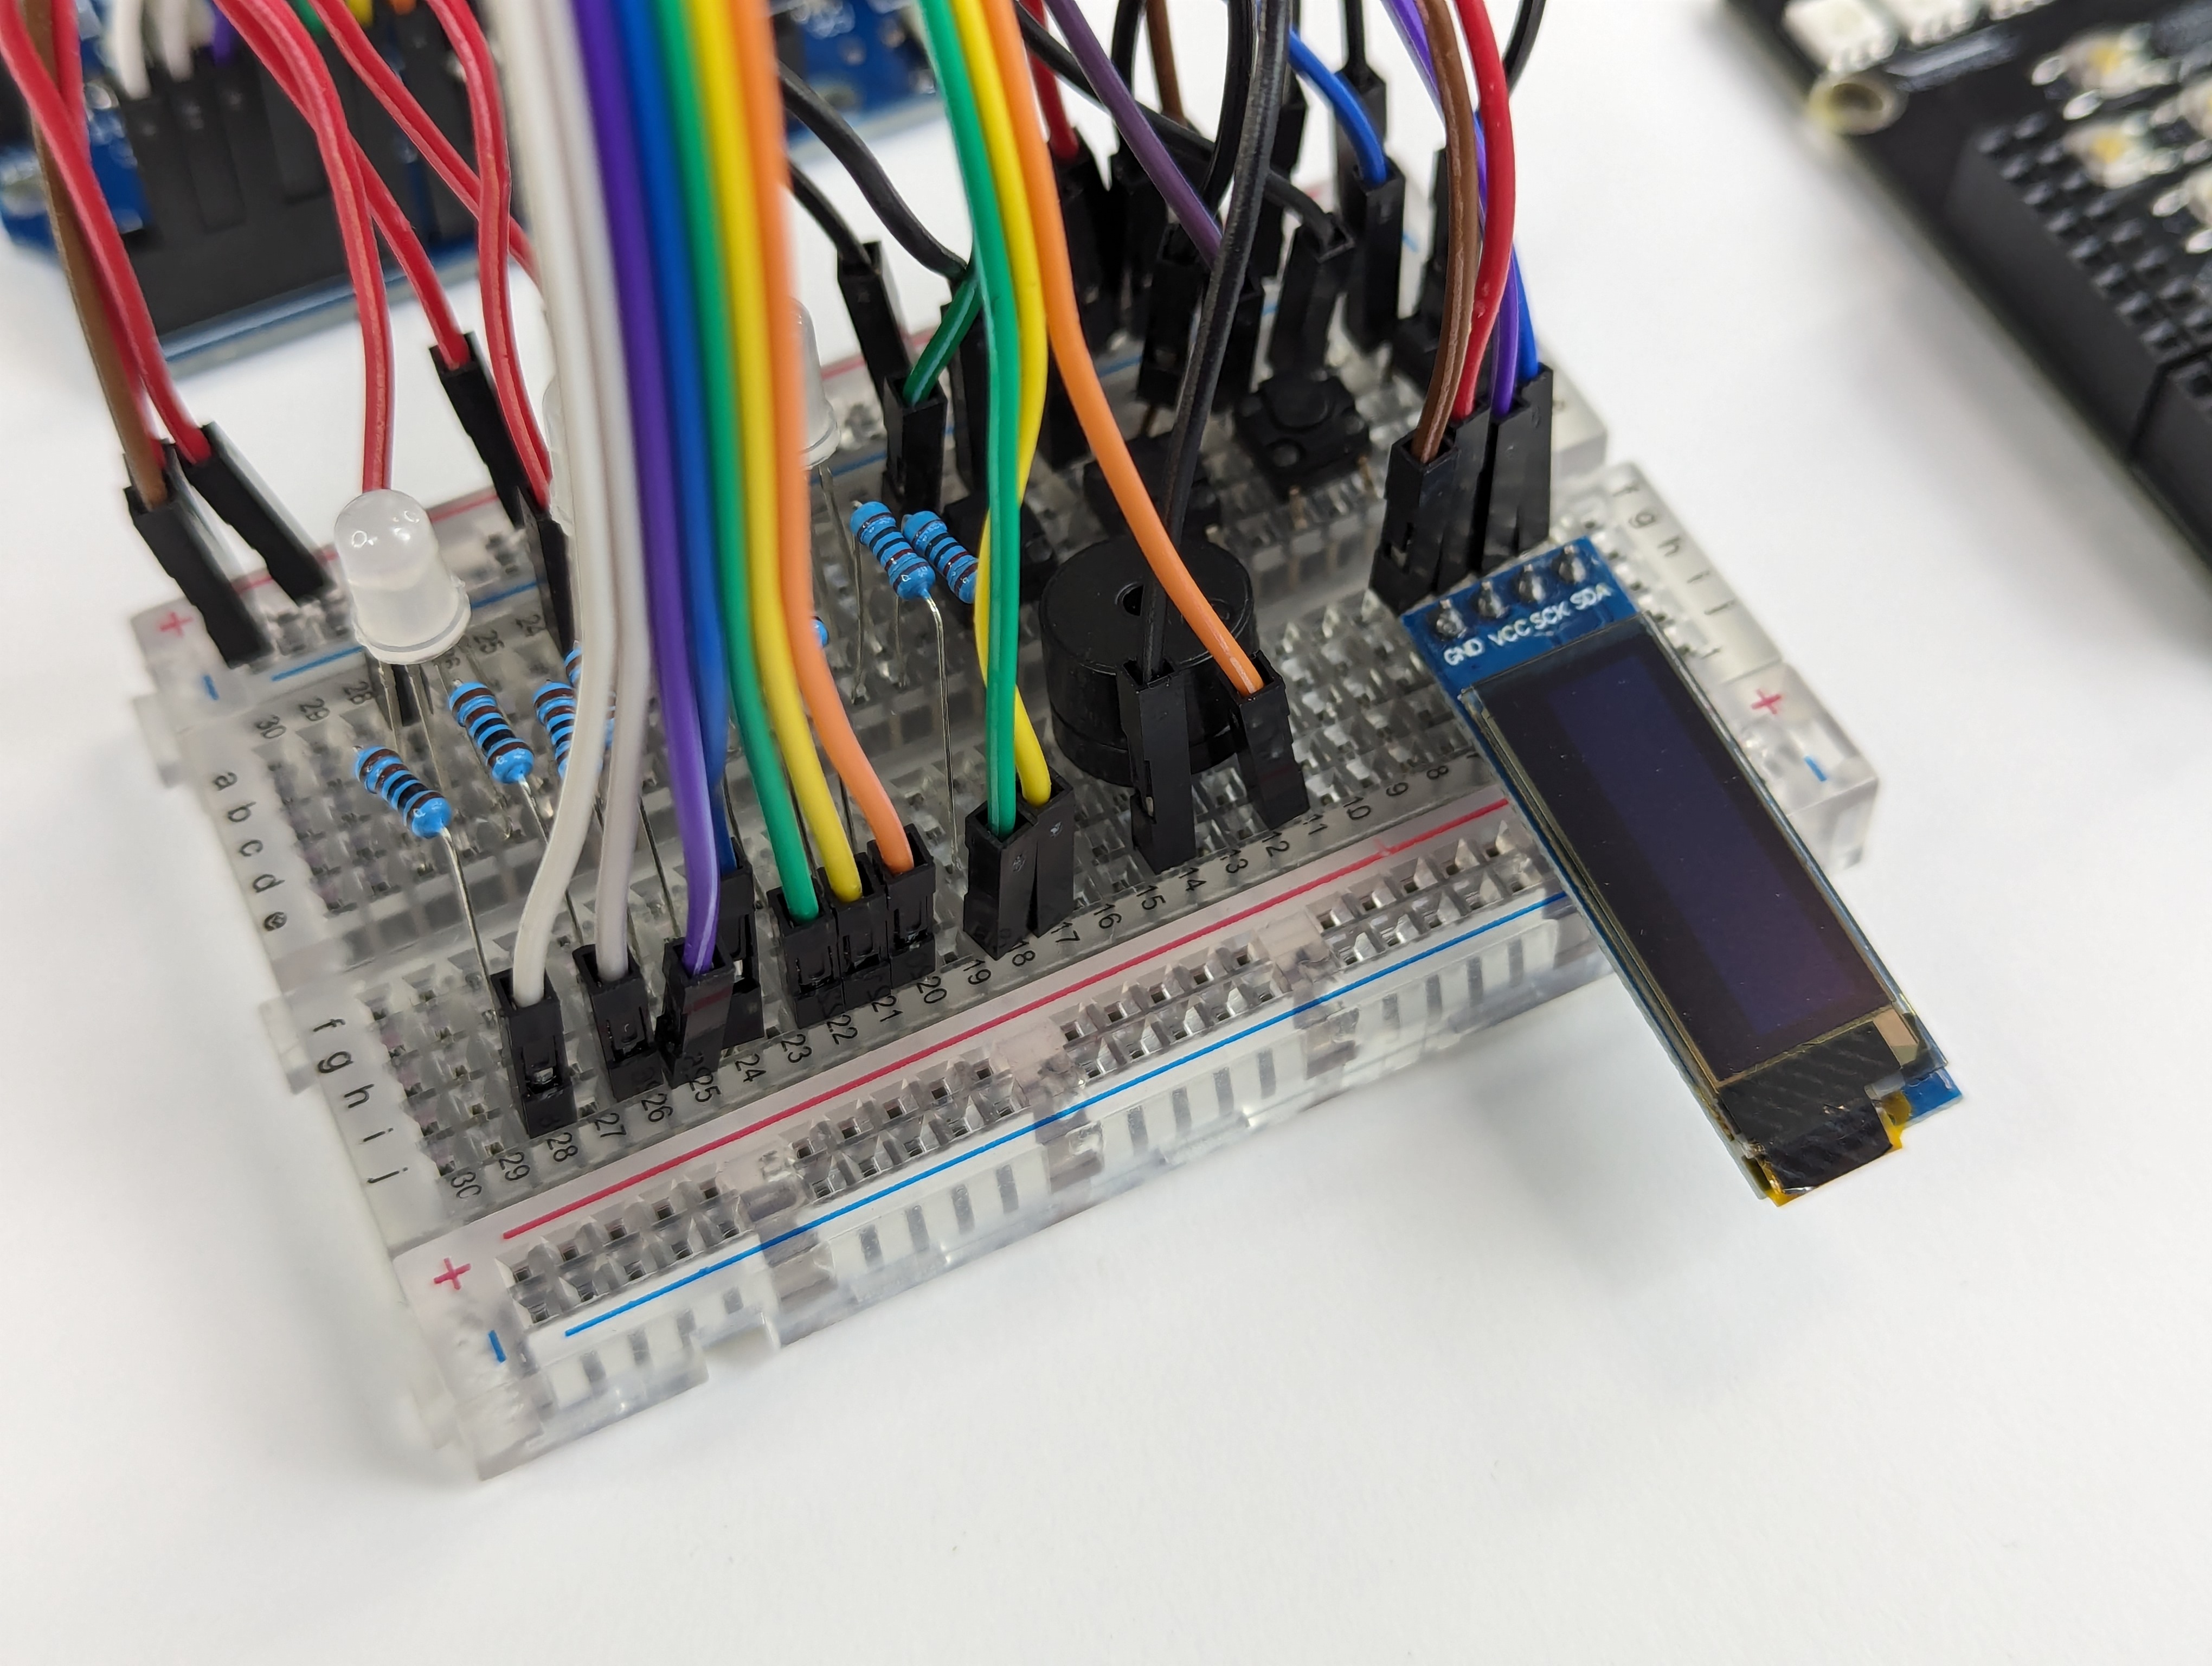
For the sketches that required and LCD screen, I luckily had one that was compatible from Waveshare that I had planned on using in the biped robot project. This worked first time and the presence of female headers means that the LCD can either be connected directly to the board with male headers, or connected using a cable. This is useful so that the LCD can be mounted in a case or enclosure.
I don’t have any JST-SH modules that aren’t already mounted in projects, but the connector is a standard 4 pin JST-SH connector so I’m confident that it will work with any compatible module.
Overall I’d say this is a great board for beginners and experienced arduino users who are looking for a portable board that offers this additional functionality. For me personally I can see this being something I can take with me to events and workshops to demonstrate projects without having to carry around a bag of components and worry about wiring. It would also be a great first board for teaching STEM subjects to a group of students as there is no wiring to worry about getting wrong or taking time to configure.