Modular Biped Features | Build Log
When I first started working on the modular biped project, I had a few features in mind. The way that the robot behaved would depend entirely on the sensors and actuators it had in it’s arsenal. For that reason (and because I enjoy trying new things!) I decided to add as many as reasonably possible, as long as they were relevant to the brief of a ‘desktop companion robot’.
Sensing the world
To make the robot aware of it’s surroundings, I added a number of sensors. These include:
Microwave sensor (RCWL-0516)
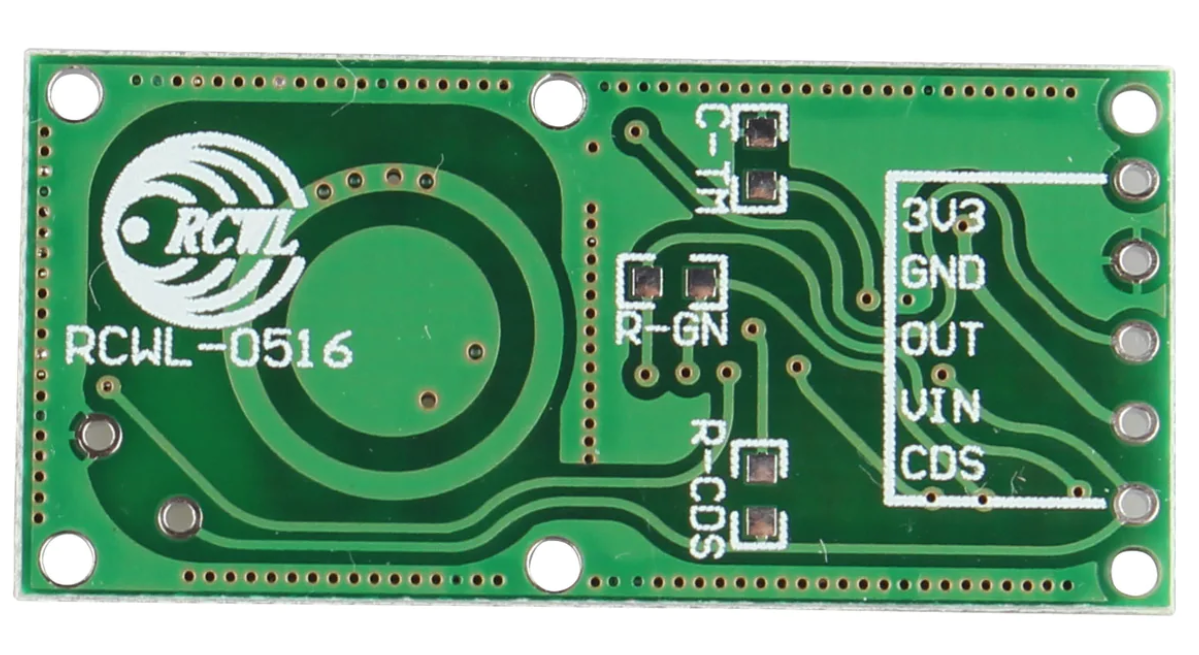
This sensor has a digital output (true or false) and detects the presence of a human or animal within a few meters, even through walls. The sensor cannot be adjusted in sensitivity and so it was not useful to determine if a person was ‘in front’ of the robot, or even in the same room, but as a general ‘someone is near by’ detector it works well.
Because the plan was to allow the robot to run autonomously and 24 hours a day, a sensor that detects people allows the robot to enter a power saving mode when no one is around. This is useful for a number of reasons, but primarily to reduce the power consumption and to reduce the wear on the servos.
It is also a useful sensor for games and interactions, as it can detect if everyone is moving or still.
It refreshes at a rate of once per second, which is sufficient for these purposes.
Raspberry Pi Camera Module (wide angle lens)
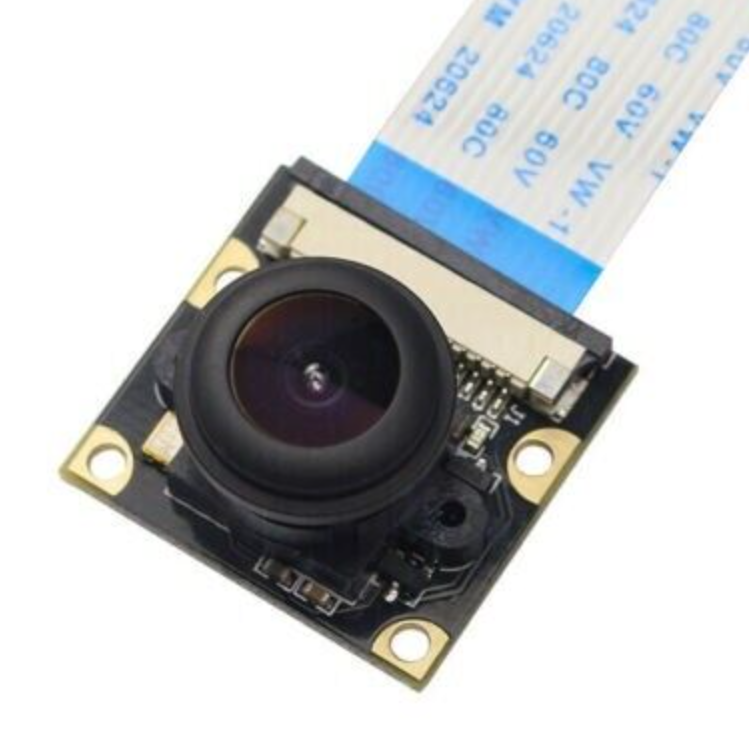 The camera is the main sensor for the robot. It has a versatile range of uses, including:
- Face detection. When object detection detects a person, the mode switches to face detection so that the robot can focus on the face of the individual. The neck servos facilitate face tracking. If there is more than one face visible the robot will focus on the closest (largest) one.
- Face recognition. This can be trained by collecting faces that the handler can label by placing into a named folder, at which point the robot can re-train the model. Note that this is available in the OpenCV functionality of version 2.
- Object detection and recognition. This is useful for detecting objects when there are no faces to interact with. The robot simulates boredom by identifying objects from a list of pre-trained and focusses on each one for a few seconds before moving on to the next.
- Timelapse and other capture features. The robot can be set to take a photo every few seconds, or to record video when it detects movement. This is useful for security and monitoring purposes.
The wide angle lense is useful for the robot as it allows it to see a wider area, but it does distort the image. This is not a problem for the purposes of the robot, but it is worth noting.
Microphones (MEMS)
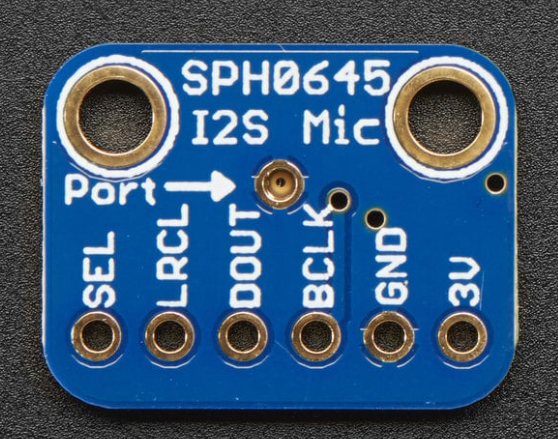 Image credit: Adafruit
The robot has 2 MEMS microphones, one on each side of the head. These are used for speech recognition but could be expanded to include other features such as sound detection and localisation.
Speech recognition has been implemented with an ‘always listening’ approach, but when the robot enters rest mode this is paused. There is also the option to use a wake word, but this is not currently implemented as the module ‘chirp’ was used and is no longer maintained by the third party.
Gyroscope (MPU6050)
Built into the body circuitry is an MPU6050 gyroscope. This is used to detect the orientation of the robot and to determine if it is level or not. This is useful as the animation of the legs can throw off the center of gravity and cause the robot to fall over. The gyroscope is used to detect this and to correct the balance automatically in a continual loop.
Interacting with the world
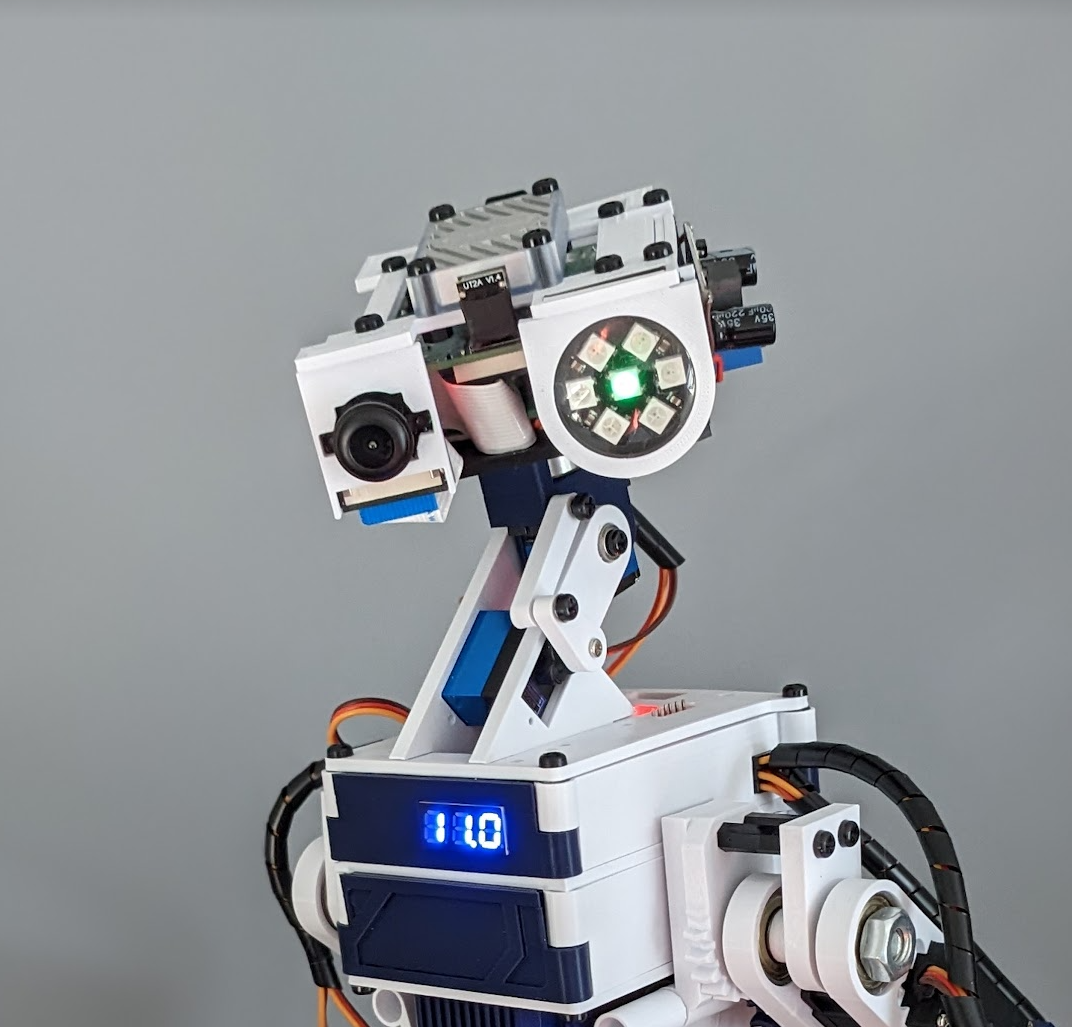
LED (Neopixels)
![]()
Neopixels are addressable RGB LEDs that can be controlled individually or as a group.
They are used to provide feedback to the user and to indicate the status of the robot.
For example, when the robot is idle the eye LED is red. When the microwave sensor detects motion the eye changes to blue, and finally when the camera detects a person the eye changes to green.
Speaker
A recent edition is a speaker module that connects directly to the audio output of the Raspberry Pi 3b+. This allows the robot to play sounds and music, as well as to speak using text to speech (TTS). The speaker is used to provide feedback to the user and to indicate the status of the robot.
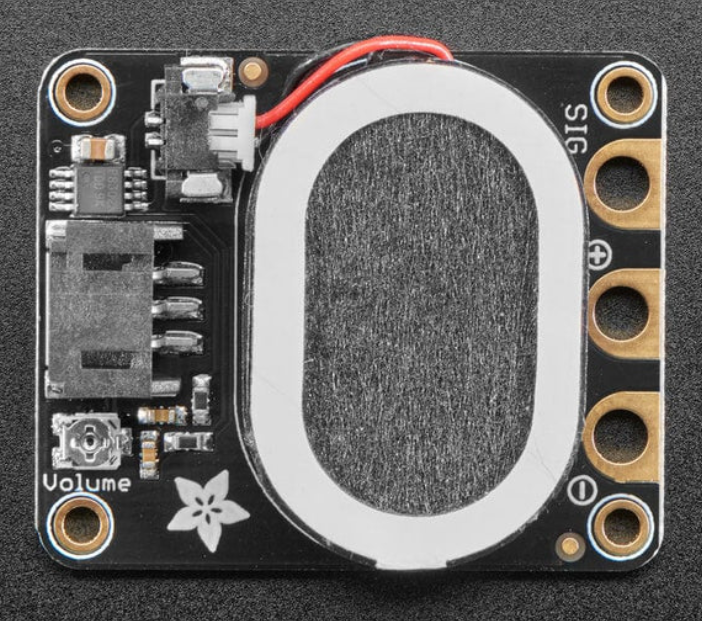 Image credit: The Pi Hut
Note: The Raspberry Pi 5 does not have an audio jack, but the same i2s connection that is used for the MEMS microphones may be compatible with an i2s speaker amplifier module. This will need investigation
Buzzer
Prior to adding the speaker, the plan was to enable the robot to emote and communicate with a buzzer in the head PCB, connected to the Raspberry Pi. Not only could this play simple tunes but with the addition of a piece of code it could also speak.
Braillespeak (text to speech as tones)
A few years prior to starting this project I had a concept for a way of using simple tones to output text. The concept was simple: split a word into each character, then convert each character into the ‘braille’ equivalent. This is a 6 bit binary number, which can be converted into a pair of tones. The tones can then be played in sequence to output the word.
The advantage of this is that it is simple to implement and requires no additional hardware. The disadvantage is that it is slow and difficult to understand, but could be learned and would also allow for machine-to-machine communication over simple audio.
This was disabled in the latest versions in favour of the audio output, but is still implemented in the code and hardware.
Servos (animation, follow a face)
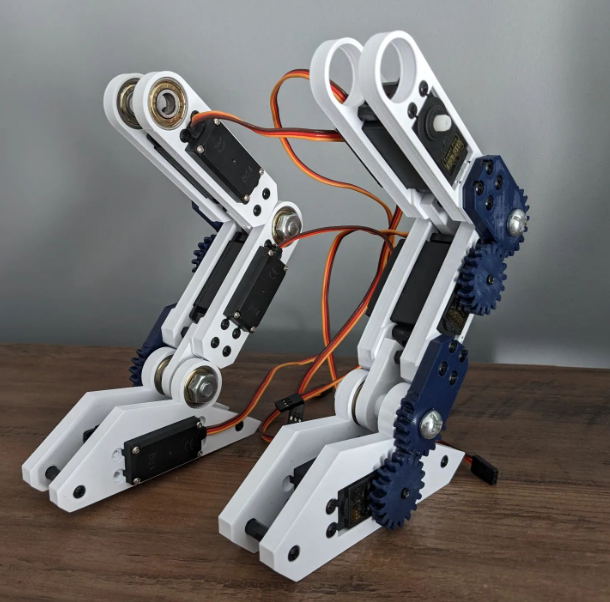 I will need to write an article on the plethora of animation features that I attempted over the years whilst building this project, everything from being able to train an animation by recording mouse and keyboard input, to inverse kinematics for balance. There was even a dance mode at once point.
The servos are an accessible choice for the project as they are reasonably cheap, easy to control, and don’t need an additional driver board. They are also very versatile and can be used for a number of purposes.
The leg servos are standard servos SG5010 and the neck servos are MG92B, metal geared mini servos.
In previous versions the entire robot worked with MG92B servos, as other mini servos such as SG90 or MG90 were not strong enough to support the weight of the robot.
Calculating the weight your servos can handle
You can calculate the weight that your servos can support by taking the stall torque (found in the servo datasheet) and measuring the distance the weight is from the pivot point (the leg length, as an example).
Torque is measured in kg/cm and is the weight the servo can support at a 1cm distance from the pivot point, so if you have a 3.5kg/cm servo and the weight is 2cm from the pivot point, the maximum weight it can support is half that value (1.75kg).
If the weight is 10cm from the pivot point, the maximum weight it can support is 10%, or 0.35kg.
Behaviours and Personality
Using the above sensors as inputs and actuators to facilitate interaction, the robot can be programmed to behave in any number of ways.
I made the decision early on to create a state manager as part of the behaviour logic, so that the robot exhibits different behaviours depending on the state it is in.
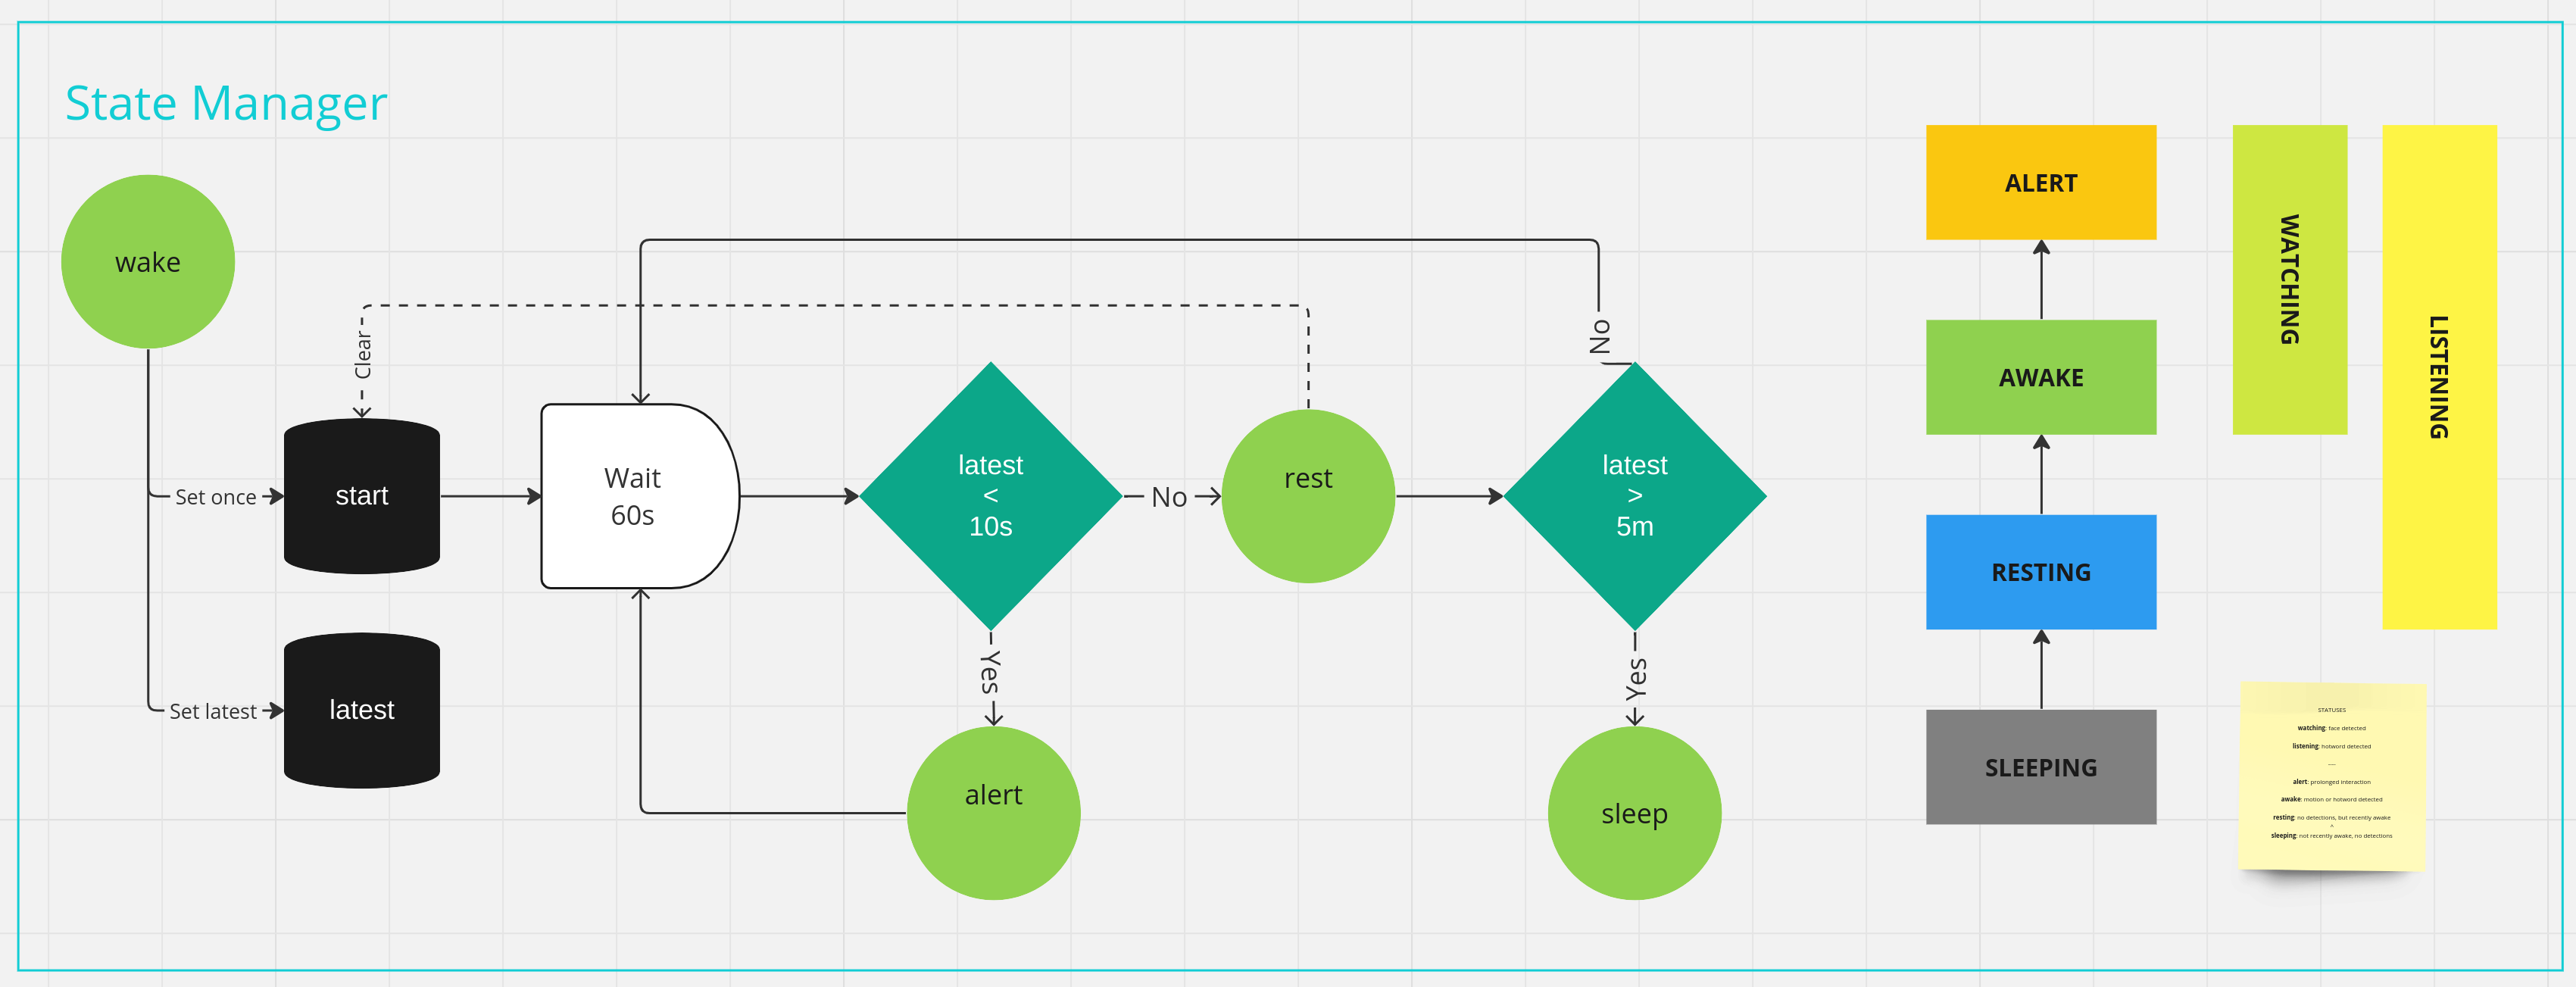 State Manager
The diagram above shows a simplified overview of the state manager. Triggered by the wake event, we change the state to resting, alert or sleeping depending on input from the various sensors.
The states determine the behaviour and running features. For example, in sleep mode the face and object detection is disabled.
This can be configured to meet the requirements of any project.
Conclusion
The software and behaviour is a topic that could be discussed at length, but I will leave that for another day. The above is a brief overview of the features and sensors that are available in the modular biped project.